As we work on the curriculum for our ‘upcycle & alterations’ sewing workshop we are going through and filming various sewing tutorials for our students to be able to reference when working on their home alterations projects.
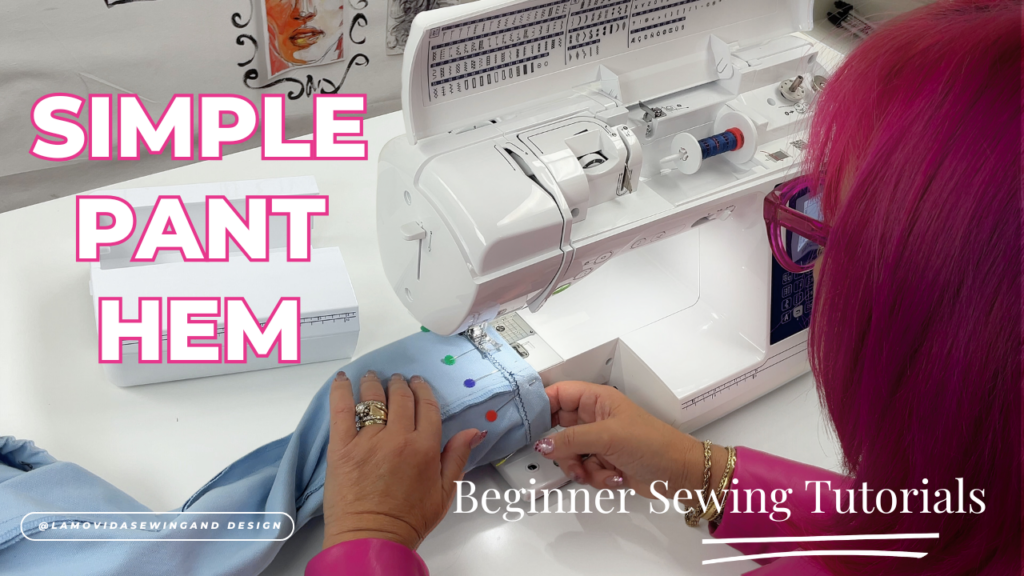
The first video is now up on our youtube channel and it teaches you how to do a simple & basic pants hem. This works well for most dress pants and jeans. It only requires a sewing machine so you don’t have to worry about a serger.
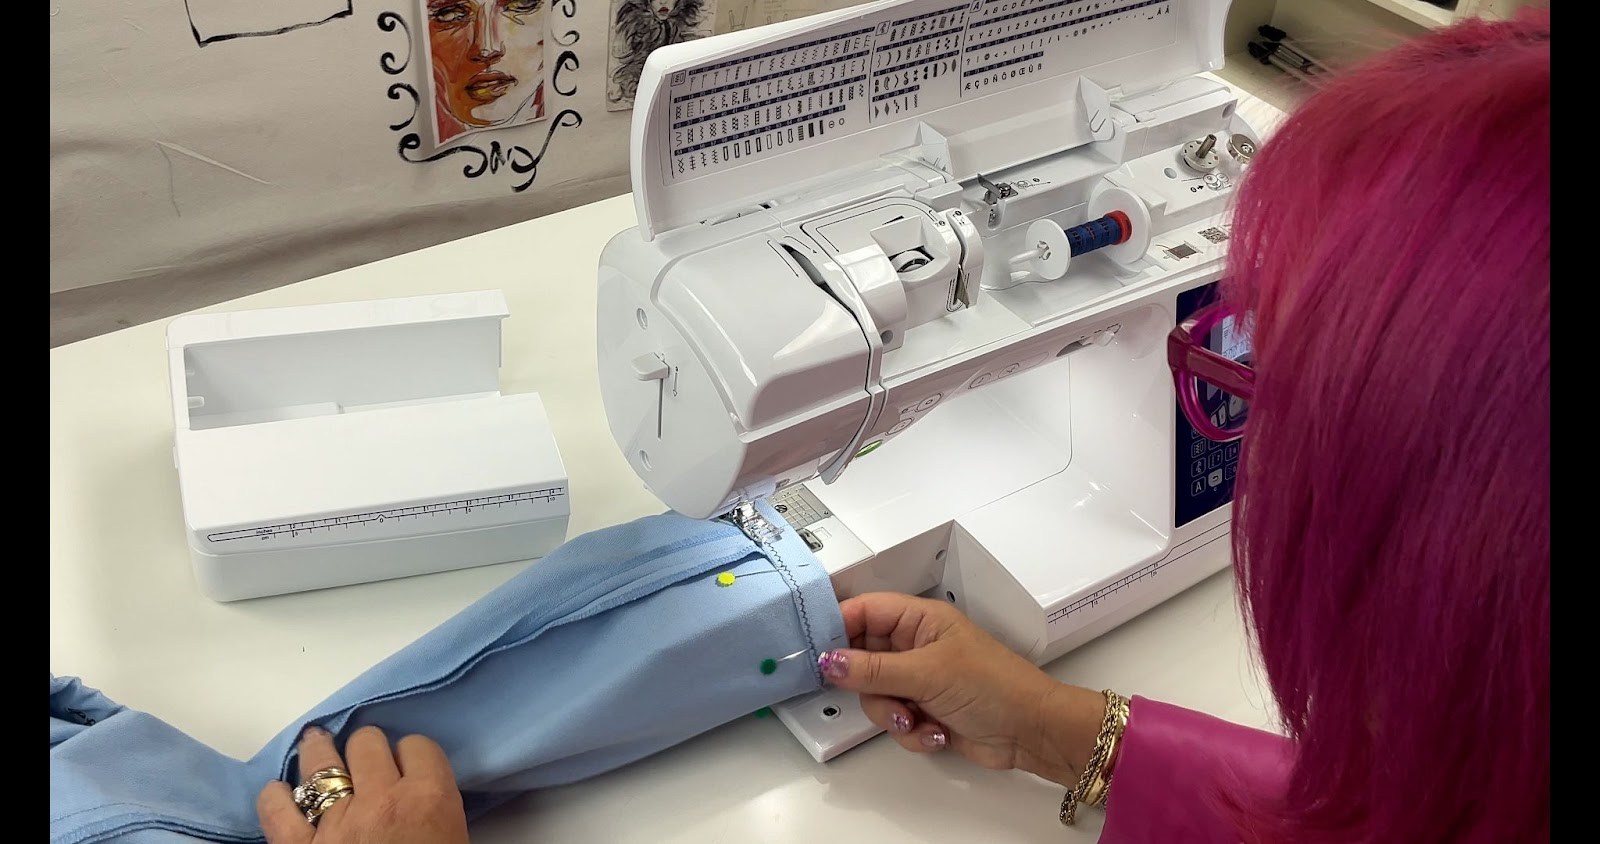
Watch our new sewing tutorial!
Alterations are the number one request we get when new sewists come in wanting to learn how to sew. There are so many things you have to know when learning how to alter your own clothes and we always recommend learning how to make a garment is the first step to learning how to change the fit of preexisting garments.
You can learn this basic hemming technique in person during our pants, skirt, and shorts workshops in our adult sewing workshops.
We are in the works of making tons of other video tutorials on how to do the most common hems and waist adjustments! You can find them and so many other sewing tutorials on our youtube channel!
Simple pants hem tutorial
Tools needed:
- Sewing machine
- Matching high quality thread
- A hem gauge, ruler, or tape measure
- A marking tool
- Pins
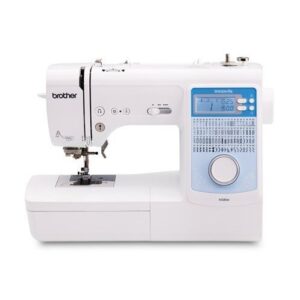
Recommended products

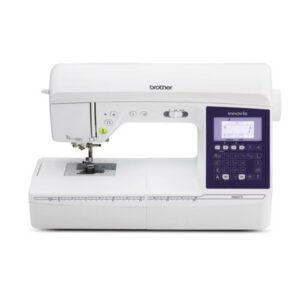
Brother Design Star Sewing Machine NS80E
$529.00Brother Trendsetter 2 Sewing Machine NQ575
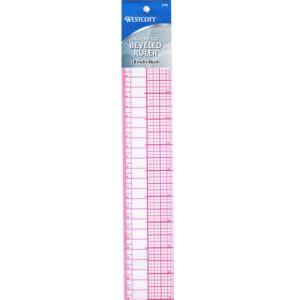
$1,099.00Westcott Beveled Ruler | 18 Inch | 46cm
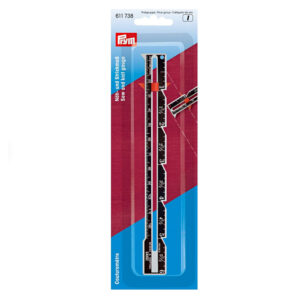
$9.50Prym Seam Gauge
$3.75Pilot Frixion Erasable Markers
$3.50Iron Off Wax Based Chalk | White
$5.00Dritz Tape Measure
$3.00Mettler Polyester All-Purpose Thread – #2000 White (100m)
$3.50Mettler Polyester All-Purpose Thread – #4000 Black (100m)
$3.50

- Try on your pants and mark or measure how much you need to take them up. * it is good to try on your pants with a pair of shoes that you intend on wearing with them as it’ll provide the most accurate measurement*
- If needed, seam rip out the old hem.
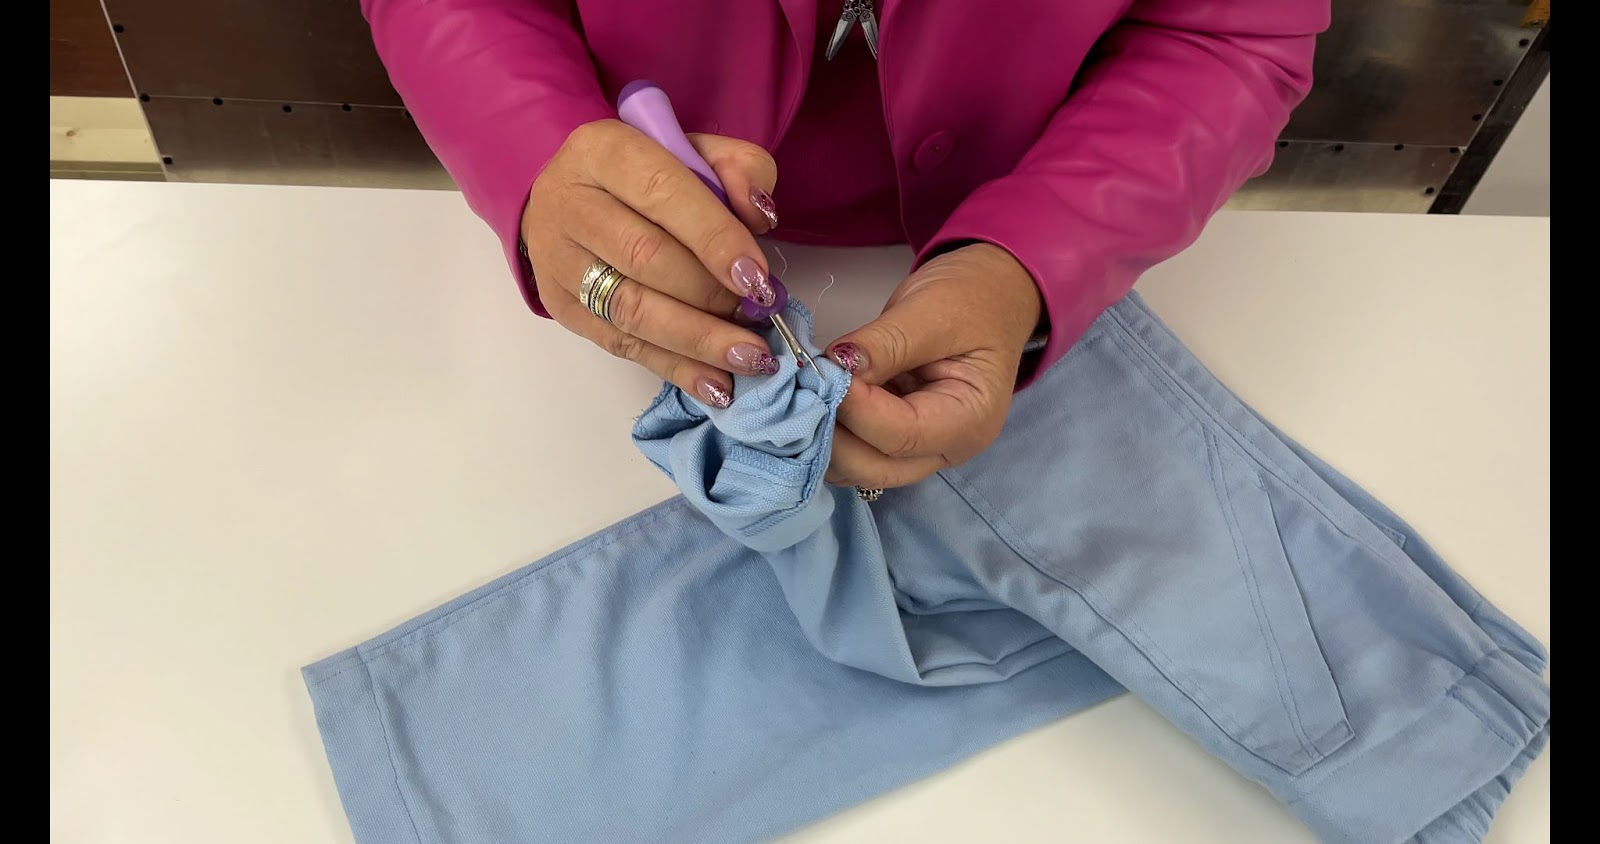
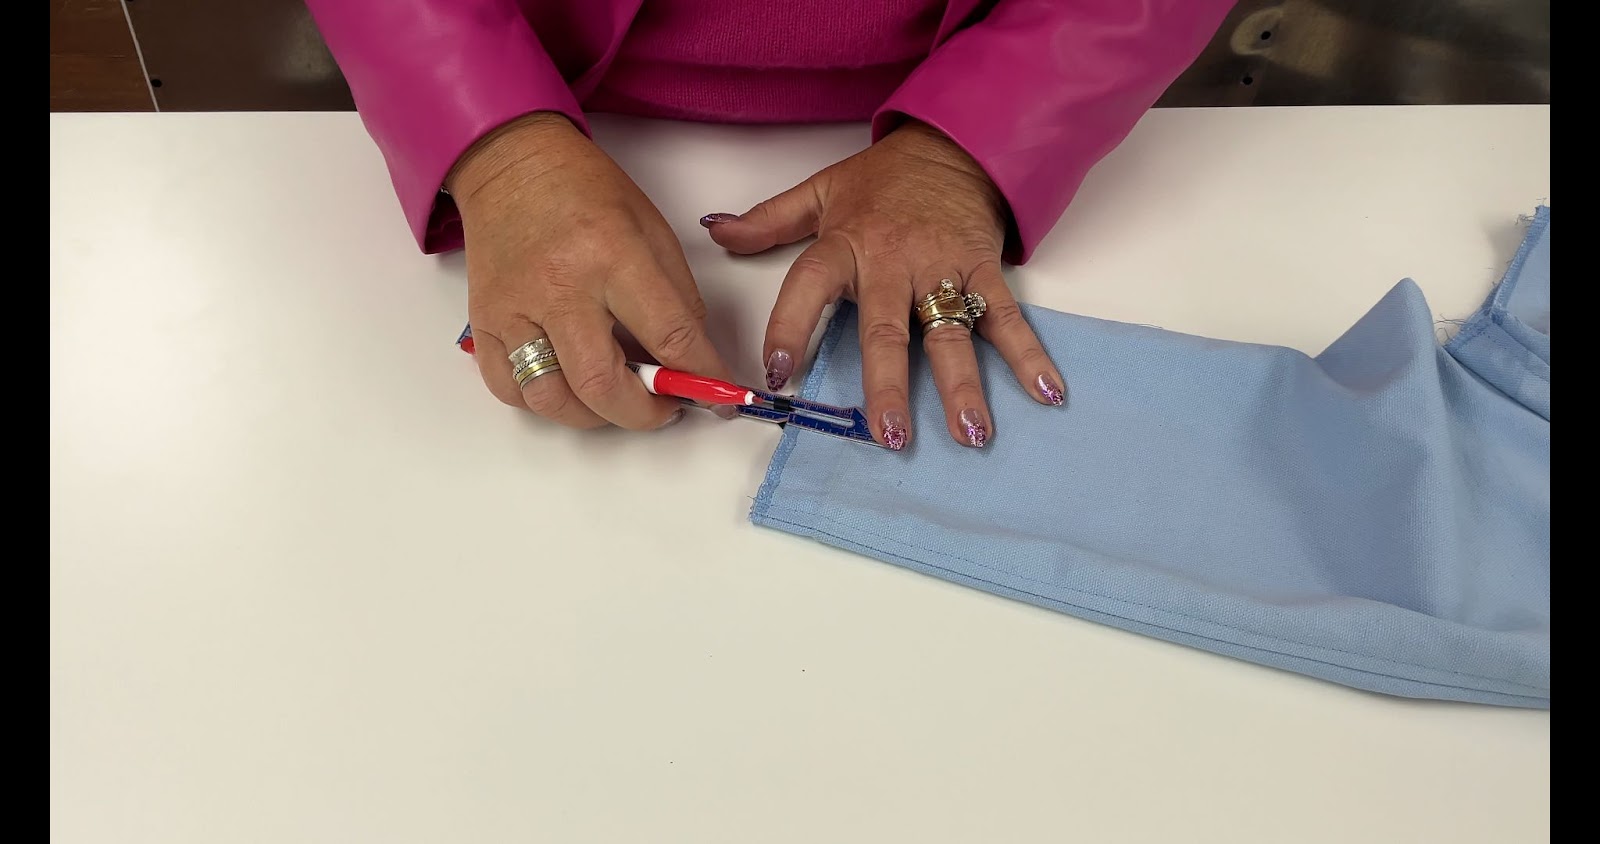
- Mark your cut line and your fold line. The cut line is typically 1” below your desired finish length but if you prefer a thicker hem you could do 1.5” – 2”. Your Fold line is where you want your pants to finish.
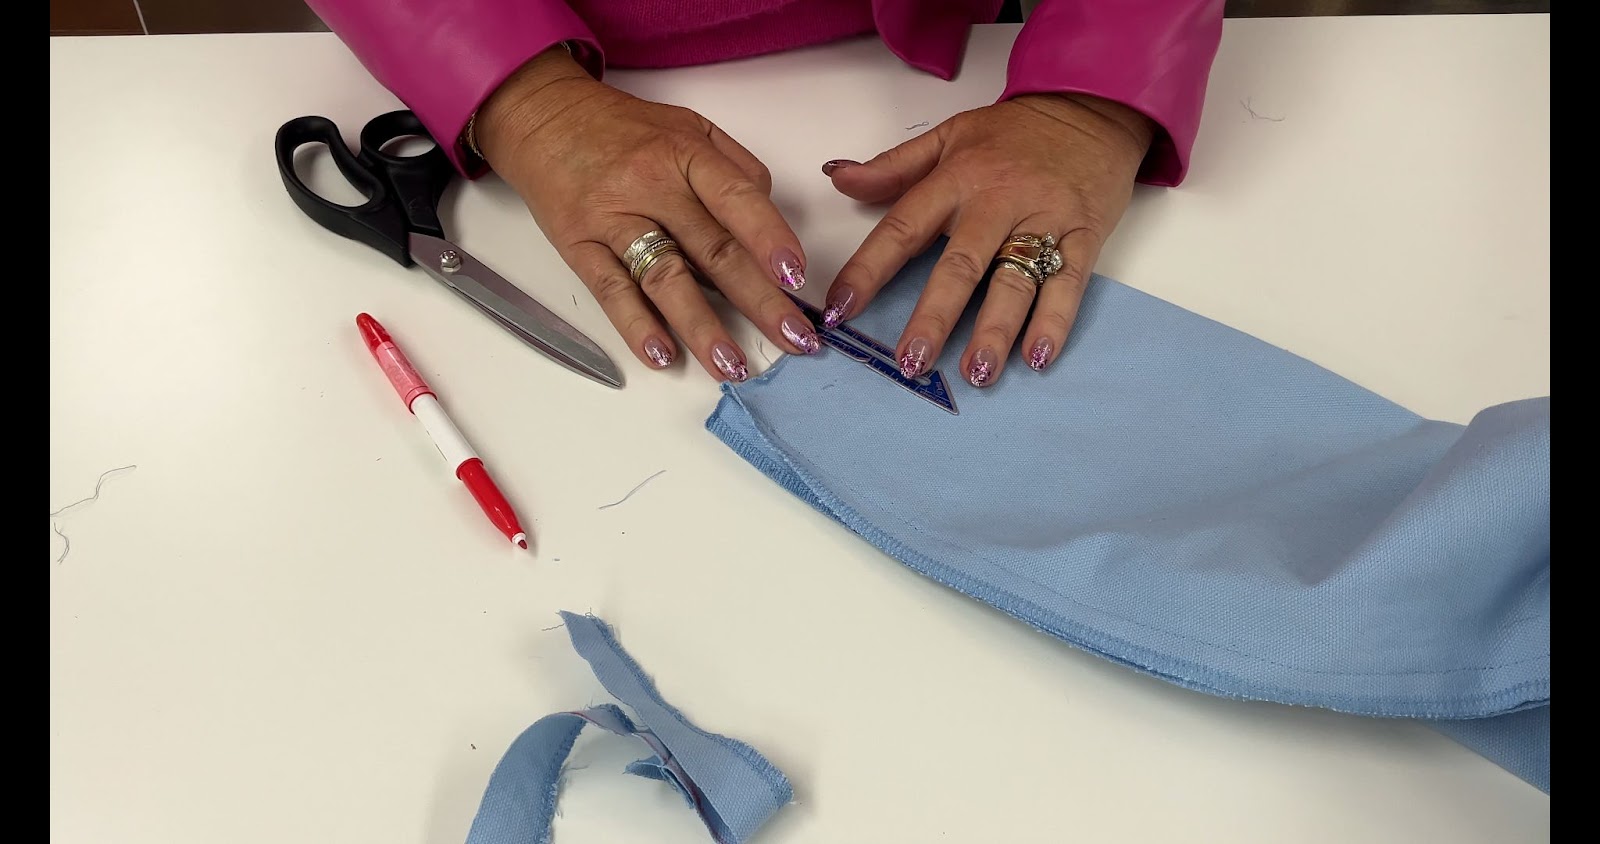
- Cut your cut line
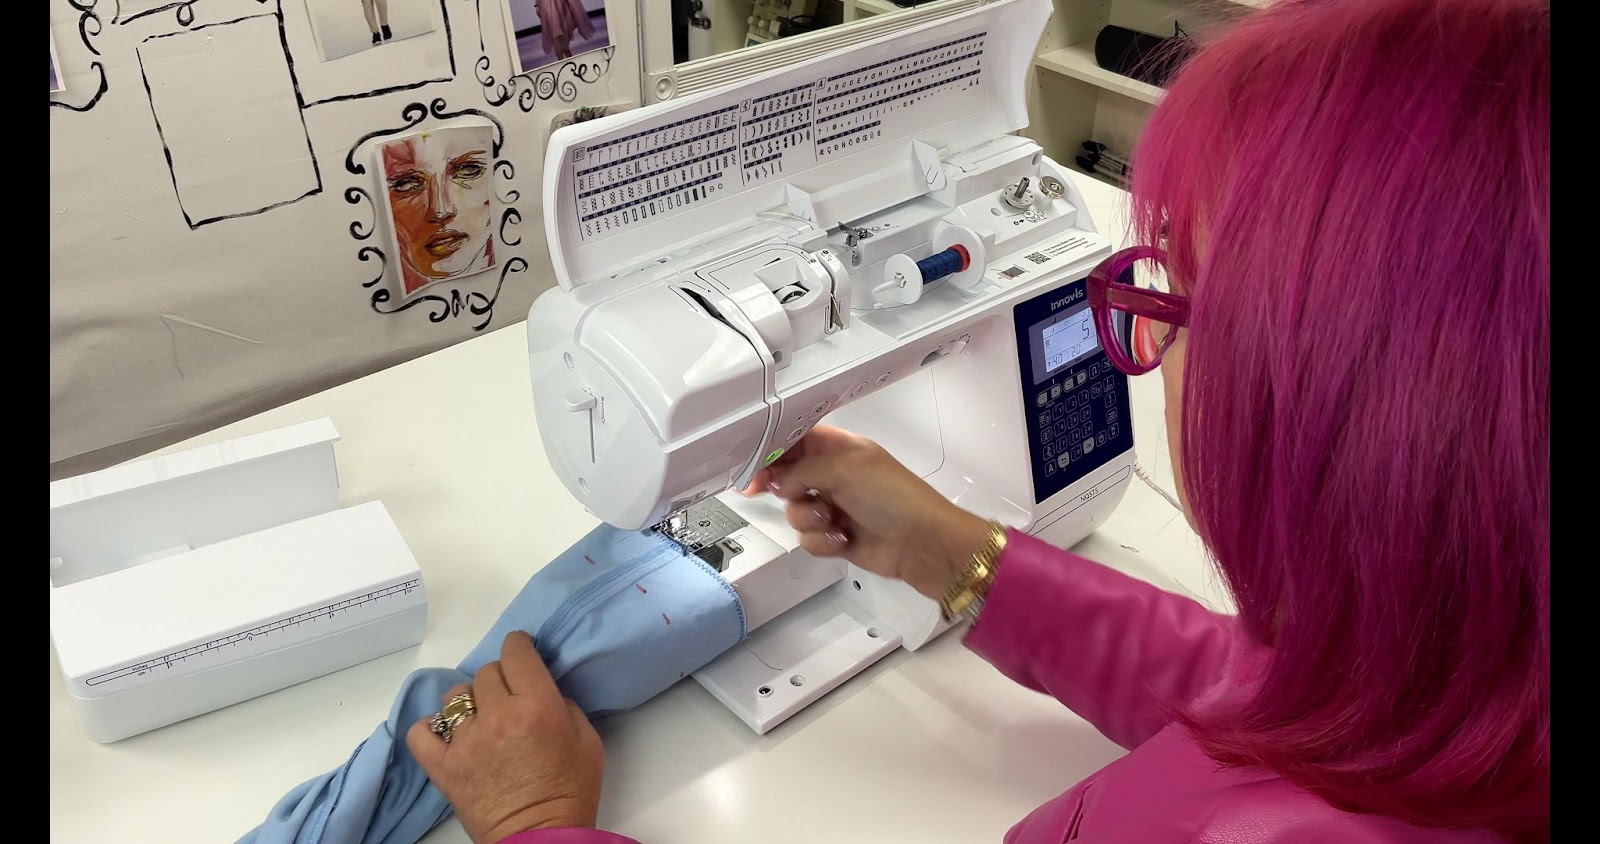
- Zig zag using your sewing machine as close to the raw edge as possible, this prevents fraying
- Fold up your pants along the fold line and pin
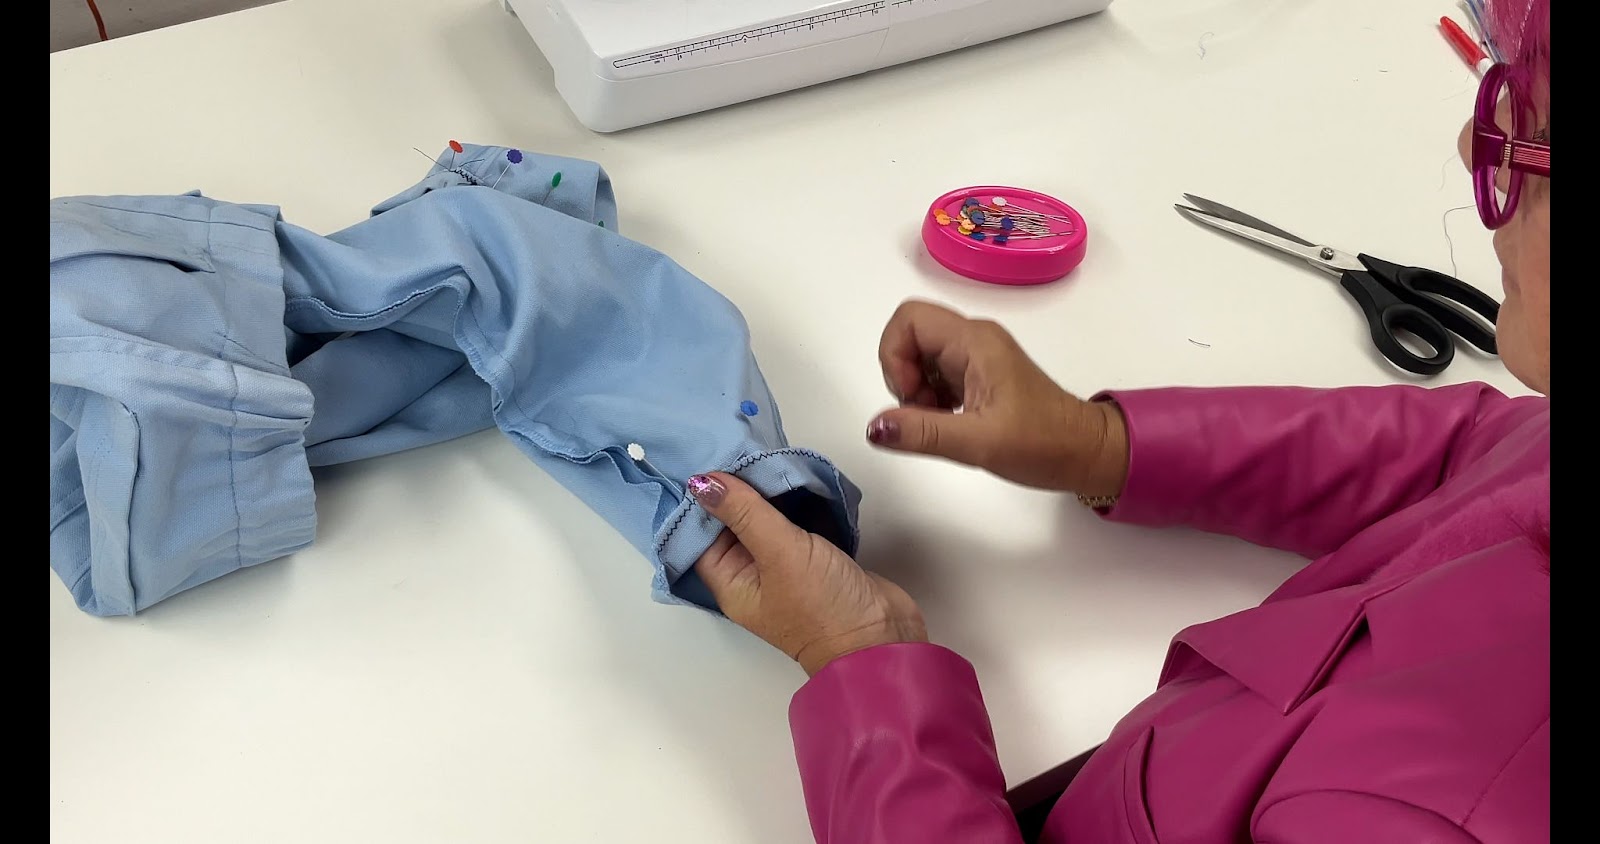
- Switch to a straight stitch and stitch down your hem about ¼” away from the zig zaged edge!
- Give your hem a nice press and try on!
All of these photos are pulled from our video sewing tutorial, Laurie offers a lot more comprehensive information on how to hem pants as well as extra tips in tricks in the video tutorial so it is definitely worth a watch if you are trying to hem your pants!