Today I have a very special request from one of our youth sewing students! Presley has been asking for weeks for a rundown on how to make her very own Scrunchie. We have limited time in our youth classes as we plan out their projects and curriculum far in advance. While we won’t get a chance to make them in our after school classes, we are sharing a comprehensive tutorial to make your own at home, with or without a sewing machine.
Materials
- ¼” elastic (6” per Scrunchie)
- Fabric : you can use most fabrics (ie. quilters cotton, Polyester Satin, silk, velvet, etc.)
- Thread
- Hand sewing needle
- Optional sewing machine
- Pins
- Scissors
- Mettler Polyester All-Purpose Thread – #0012 Haze$2.50Add to cart
- 1/4″ (6mm) Braided Elastic$1.00Select options
- Flower Head Pins$5.00Add to cart
You can find a bigger selection of fabric and sewing notions in person at our kitsilano fabric store!
Pattern
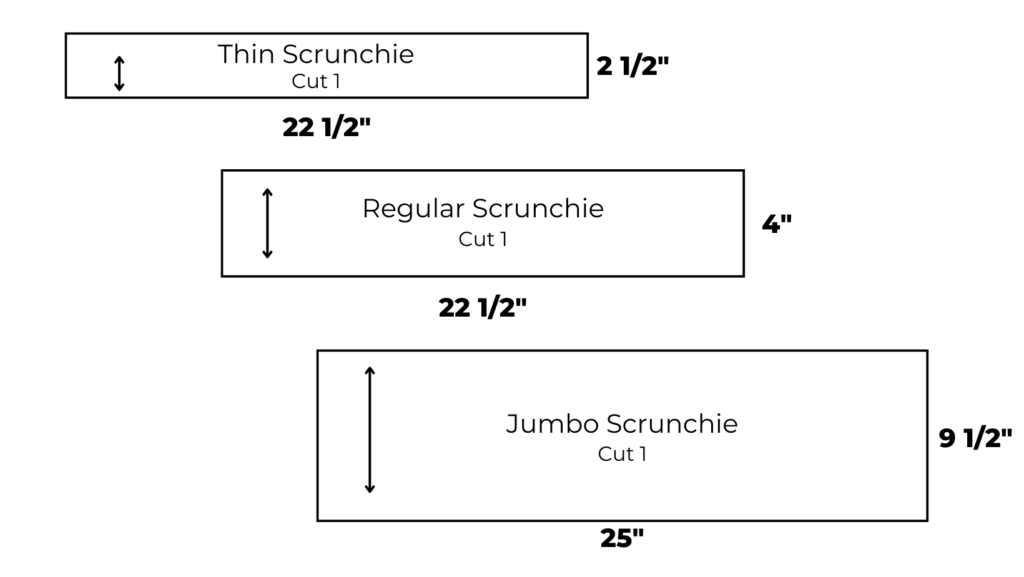
Scrunchy patterns are fairly simple and can vary depending on the scrunchy style. You can draft your own with a ruler and a pencil. Above I have a version of our measurements we use at the studio.
Our traditional Scrunchy pattern is a 4” by 22 ½” rectangle.
Our thinner Scrunchy pattern 2 ½” by 22 ½”
Jumbo Scrunchies are also really popular and are just made by increasing your width.
If you like more scrunch to you Scrunchy, you can also extend your length.
Cutting
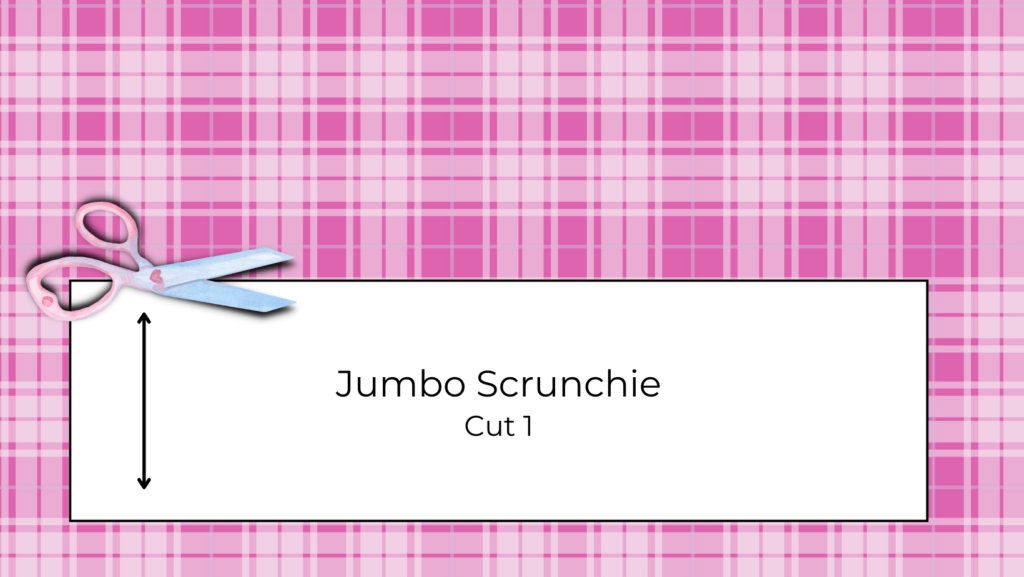
When cutting out, you want to be sure that your pattern is following the grainline.
If it is off grain, it will cause your scrunchy to twist in weird ways.
Sewing
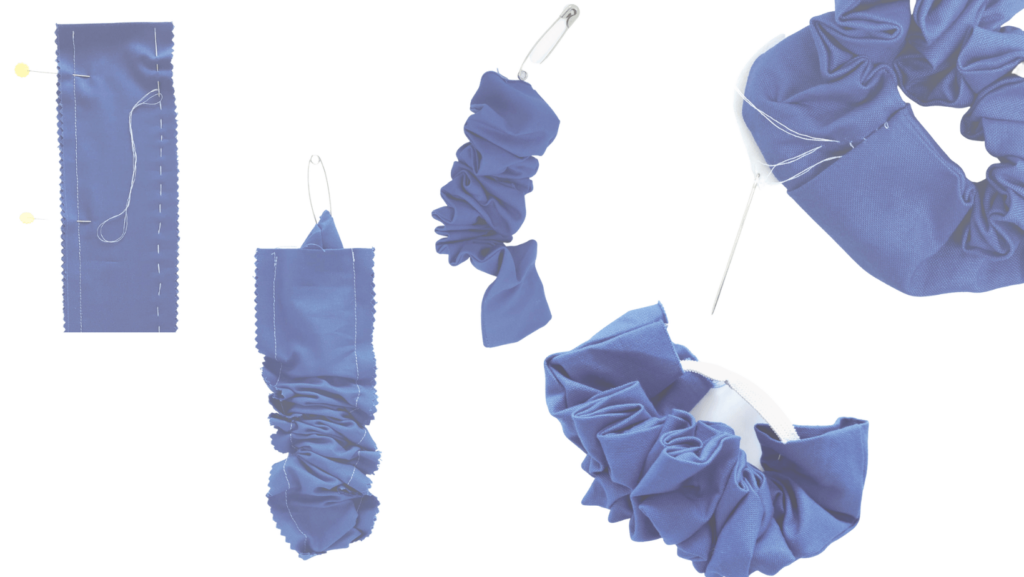
- Pin your fabric right sides together (right sides denotes the printed side, fuzzy side, or shiny side. Basically the side you want facing outwards at the end.)
- Sew the two long sides together. We do ⅝” seam allowance on ours but you are welcome to adjust your seam allowance as you see fit.
- Turn right sides out using a safety pin or strap turner.
- Take your 6” elastic and pin one side to the outside and feed the other safety pin through the tunnel.
- Sew your elastic together or tie a knot to secure.
- To close your scrunchy, you can either fold in the raw edges and sew the two layers together or ladder stitch the two ends together
Scrunchies are super easy to make and use very little fabric so they are a great sustainable sewing project. You can get creative and patchwork old scraps together or old linens. They make a great gift for a friend and are always useful to have on hand.