Sewing is a skill that is perfected over a lot of practice and one way we help others gain confidence behind the sewing machine is by using sewing on paper practice sheets. All the sewists who have been in our studio before have used one of these to get started during our learn to sew.
Using paper as an entry point to feel confident to practice bigger and bigger projects helps us break down the barrier from the task of creating something for the first time with a sewing machine.
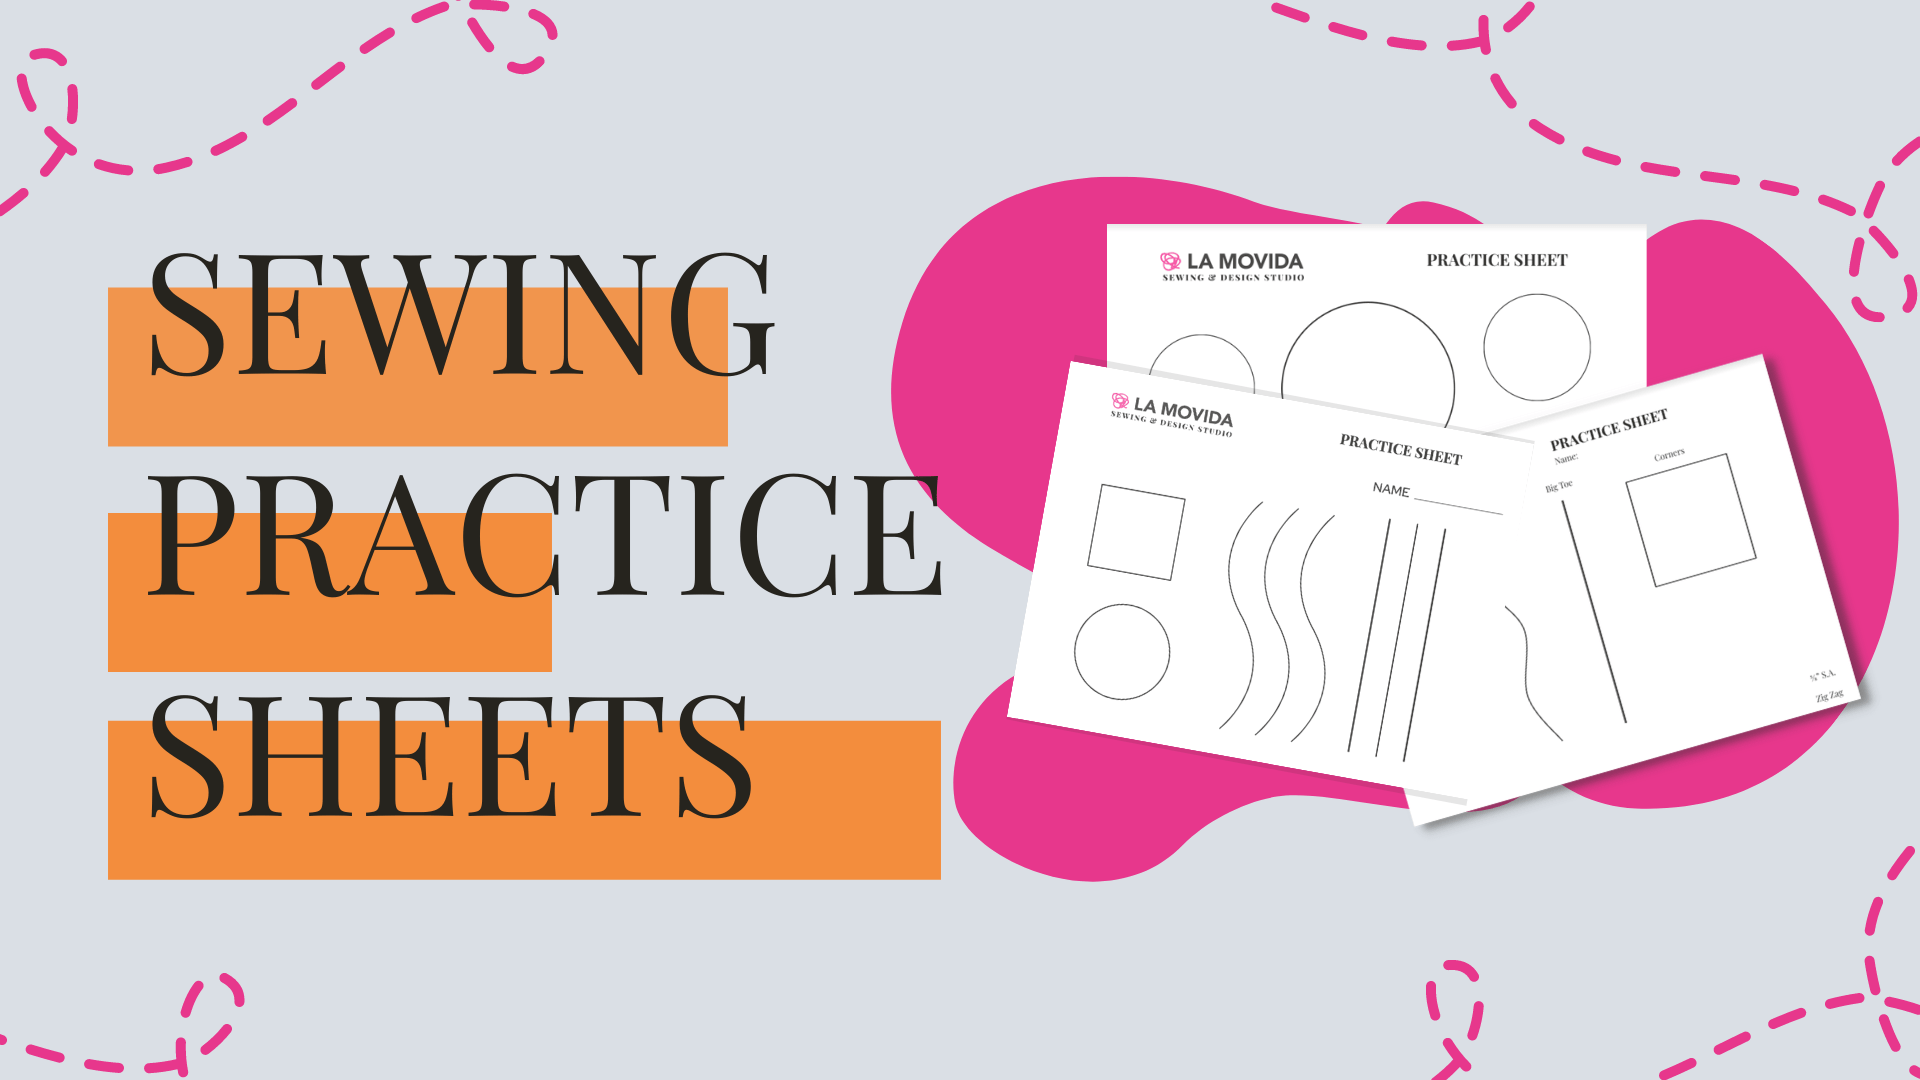
The Classic Sewing Practice Sheet

This one is our tried and true, we use it for all the youth workshops because it has all the entry maneuvering practices.
When using this one we start with the first straight lines
Lining up our needle with the path of the line and making sure to use our backstitches at the beginning and end to secure the thread.
The repetition really shows the progress as you get more and more comfortable placing the material and stitching.
Then move on to the curved lines, these get set up slightly different from the start to help you consider how the material could be positioned, once you begin stitching you now have to use your hand more to stear and keep the stitches on line.
Next is the circle which can take a lot of practice to get perfect as it’s a very tight and continuous turn.
Finally you move on to the square which requires you to pause and pivot at each corner.
The next sewing practice sheet is full of circles

This sheet really nails in how to turn seamlessly on curves, we use this sheet when tackling projects like our Beret that require really even circles. This practice is also really helpful for applique.
The last is used for our Adult Intro To Sew workshops

You’ll notice some familiars, this sheet is slightly condensed while adding a chance to use your presser foot as a seam guide. This is indicated by the “big toe” which on our sewing machines in the studio is the smaller edge of our presser foot. If your machine is different, the seam allowance guide we are trying to create is ⅛” seam allowance.
Learning how to use the guides on your sewing machine for seam allowance is really helpful for you to get accurate measurements while avoiding the time consuming practice of marking on all your sewing lines.
This sheet also has two other additions:
The ⅝” Seam allowance using the edge of the paper you have to set up ⅝” distance from the needle. Our machines in the studio have seam guides engraved but in the case that you do not have a built in seam guide you can always measure and use masking tape.
The other is a zigzag where you switch your stitch setting to the zigzag and sew on the edge of the paper to practice a simple and classic seam finish for fraying fabric.

We are hopeful these sheets will be helpful for at home practice. If you are looking for more guidance on how to use a sewing machine and learning the fundamentals you can always join us for our learn to sew and when you’re ready for more advanced help you can join us for our adult courses.