Tips to Sew your own Raincoat for Rainy season in Vancouver
Rainy season is here in Vancouver and with every season change comes sewing inspiration! Last Winter our youth after-school sewing students made their own raincoats. It was our first time teaching how to make raincoats in our youth class which meant it was a learning experience for all of us.
Now that the rainy season is here, we want to share what you should expect if you want to make your own raincoat along with some tricks to help you through the process.
Choosing your Raincoat Fabric
When we were working on developing our raincoat project, we had limitations with time and skill level of our younger sewers. A big part of this project would be working with fabric that would work well in the rain!
First we have to discuss waterproof vs. water resistant.
If you’re not familiar, these are technical words in garment manufacturing used to describe the varying levels of water that fabric can withstand. Waterproof denotes that water should not be able to penetrate the material, whereas with water resistant material, the water droplets will bead and roll off of the fabric for a measurable amount of time, but eventually water can begin to seep through.
Normal raincoats in order to be 100% water repellent need seam tape.
Seam tape is normally placed and then heat sealed over stitches so that water cannot seep through any of the punctures from sewing. This was a bit of a time consuming and technical thing that wasn’t viable in the youth class time frame.
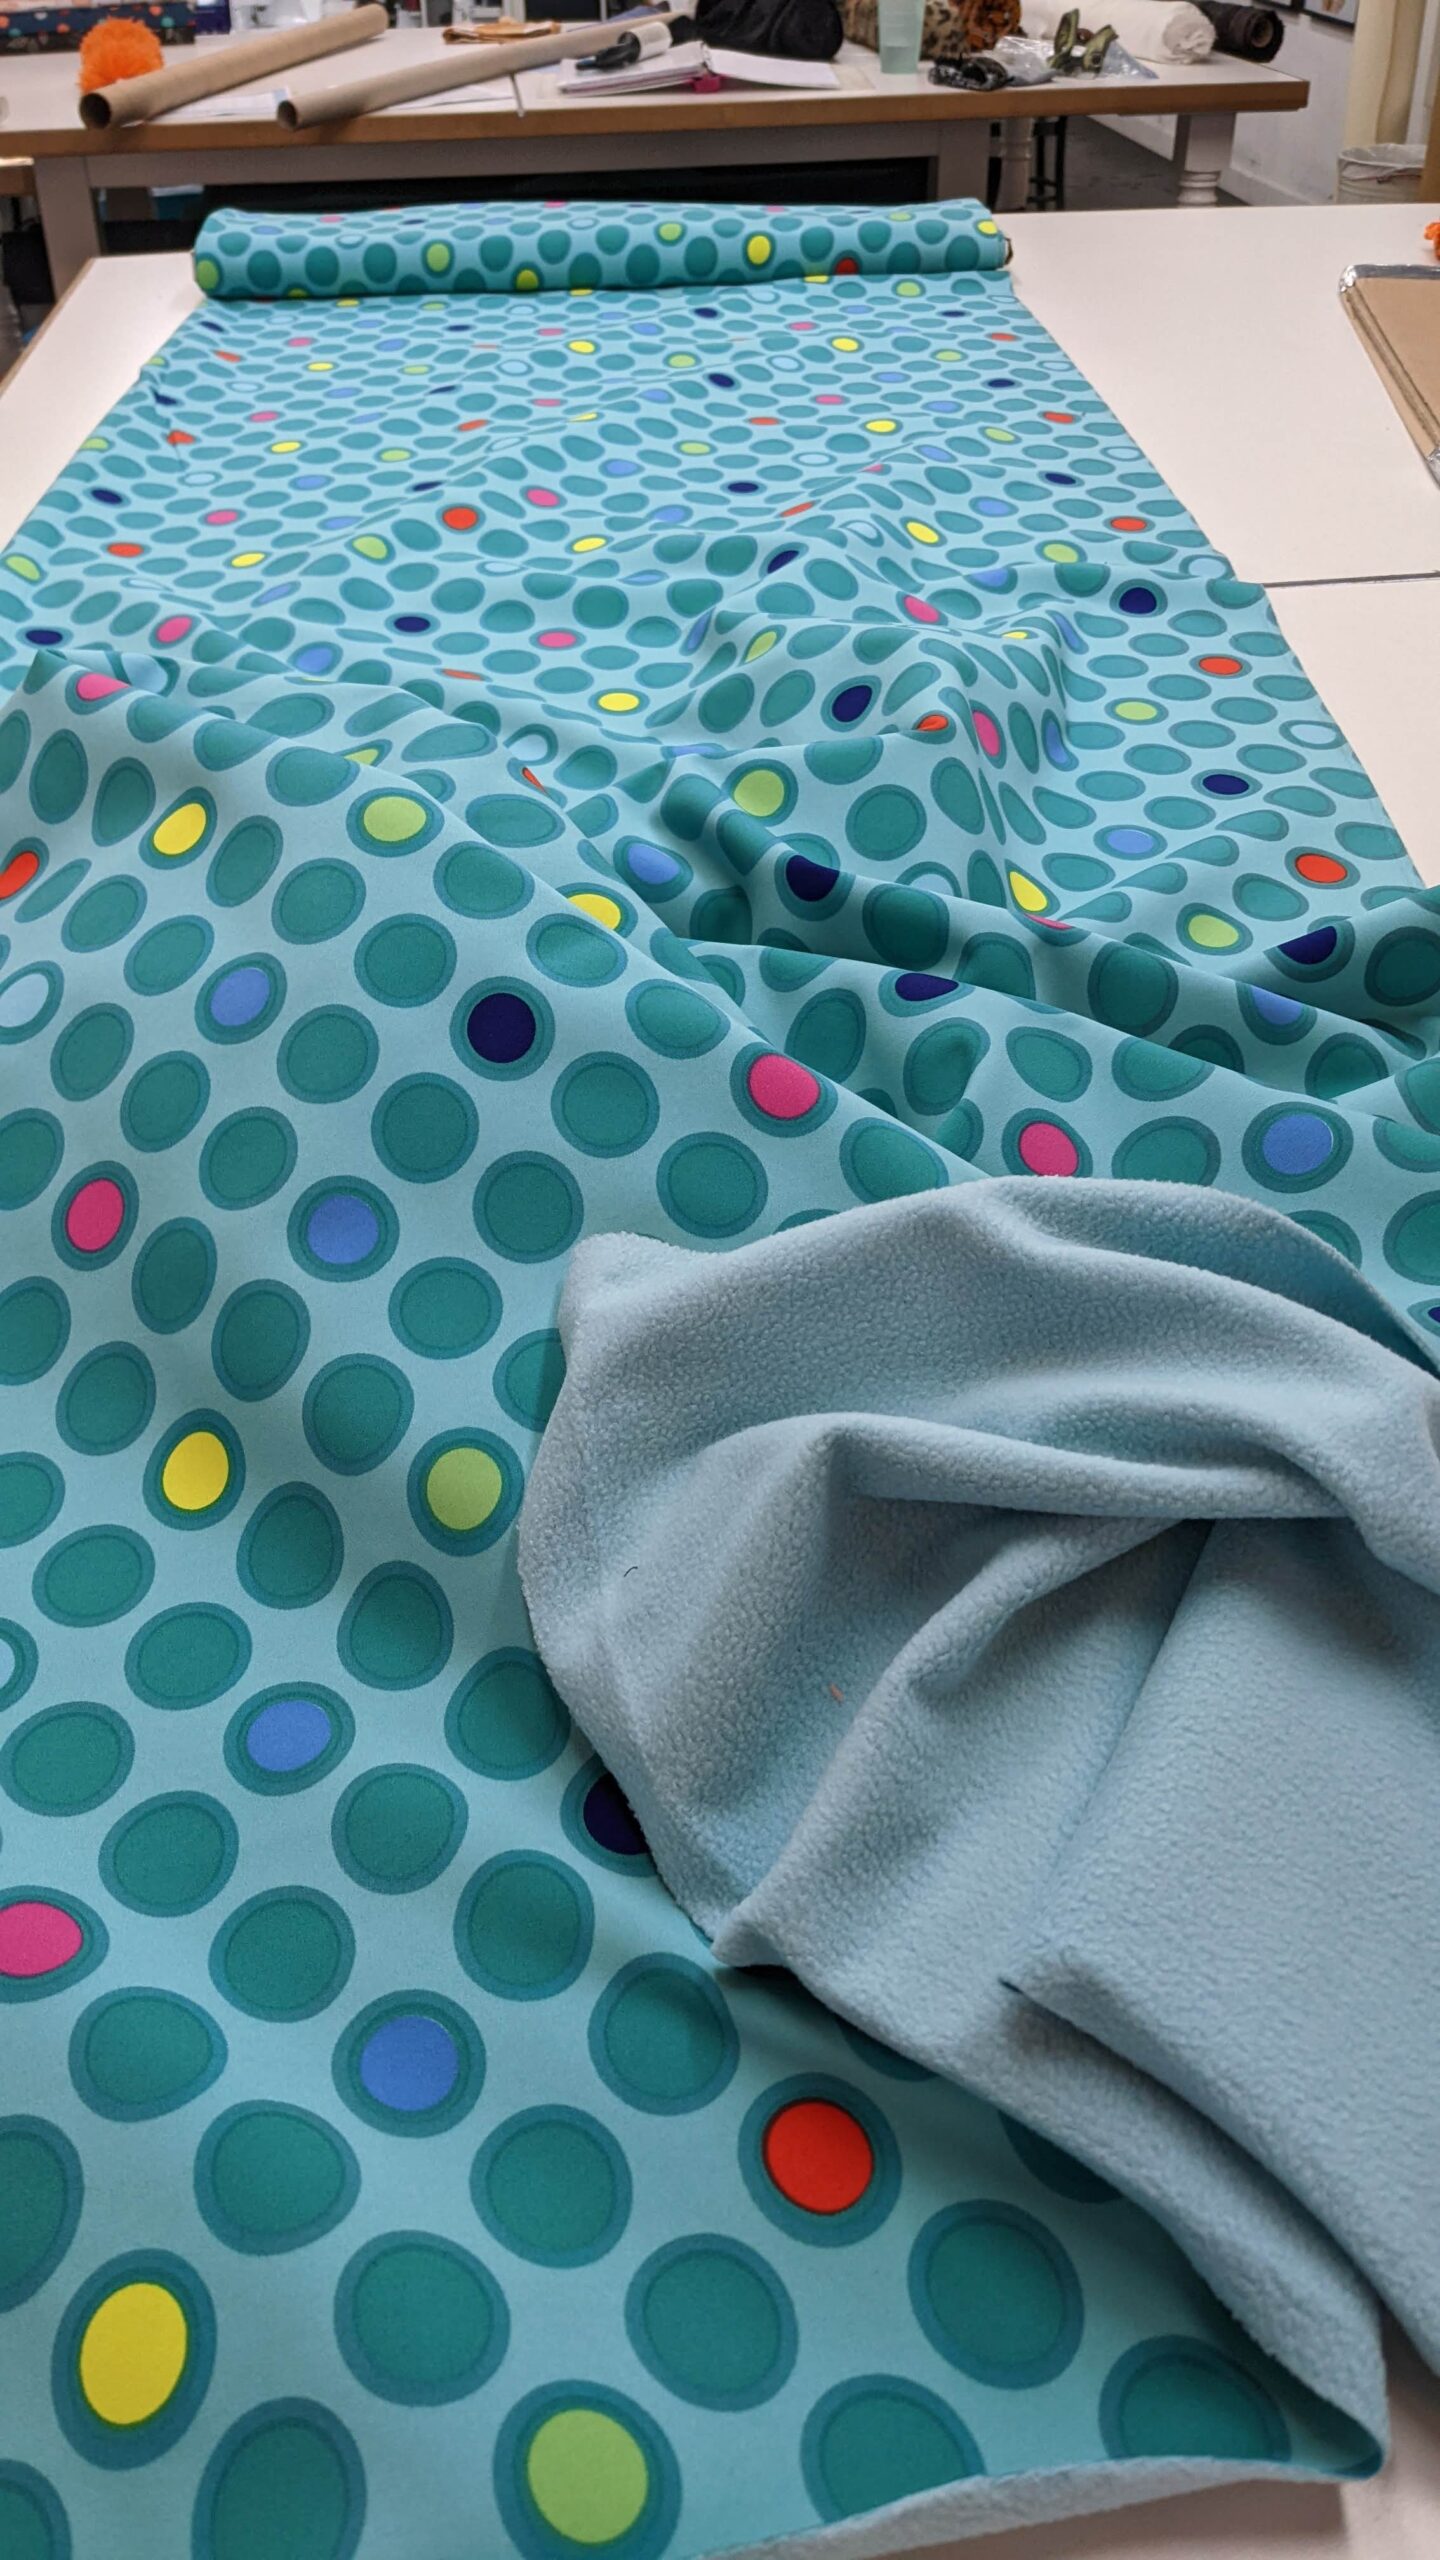
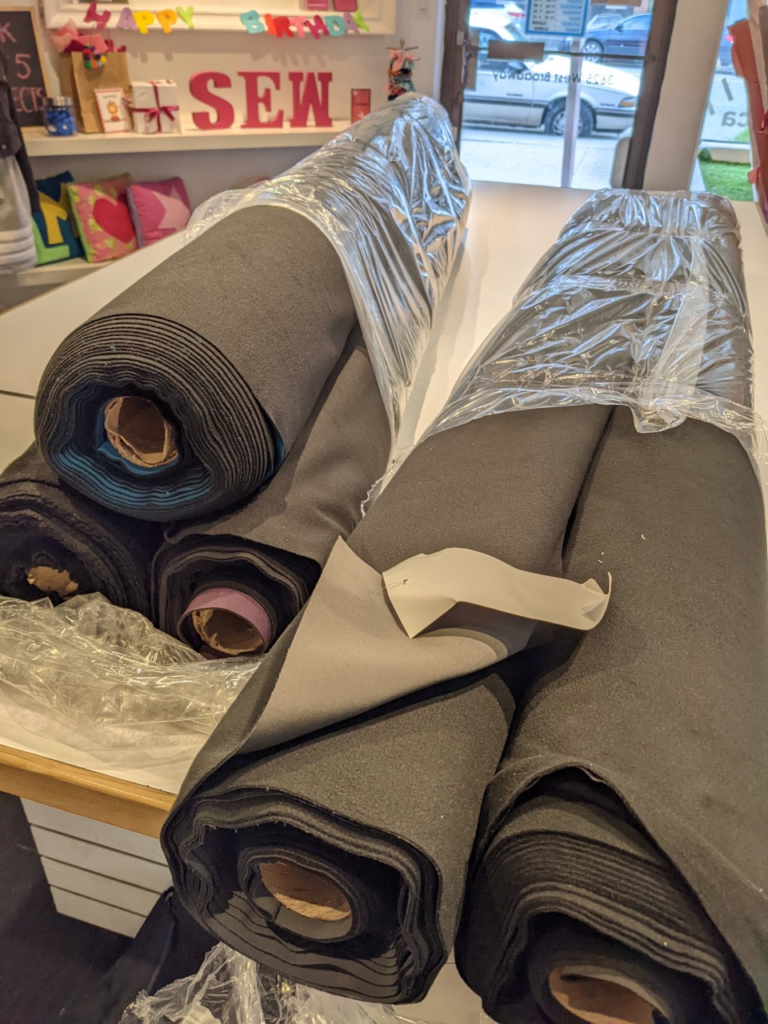
To work around this, we chose a fleece back softshell because it’s warm, water resistant, and comes in fun colours, while still healing a bit when punctured. Any sewing mistakes wouldn’t be detrimental to the water repellency of the material. While it’s not fully waterproof, it is suitable to keep you dry and warm when taking transit around Vancouver. We still have some fleece back softshell available for purchase in person at our Vancouver fabric store.
To combat the rain a bit better, we designed the hood in two layers and we also folded over and topstitched our exposed seams so if water did start to seep through it would be a bit more covered.
These are all things to consider when choosing your raincoat pattern. There are tons of helpful tutorials on how to use seam tape and work with water resistant materials if you’re looking for a raincoat that’ll last you in torrential rains. But with our youth students now having their coats for nearly a year now, we can vouch that the soft shell is suitable for local Vancouverites.
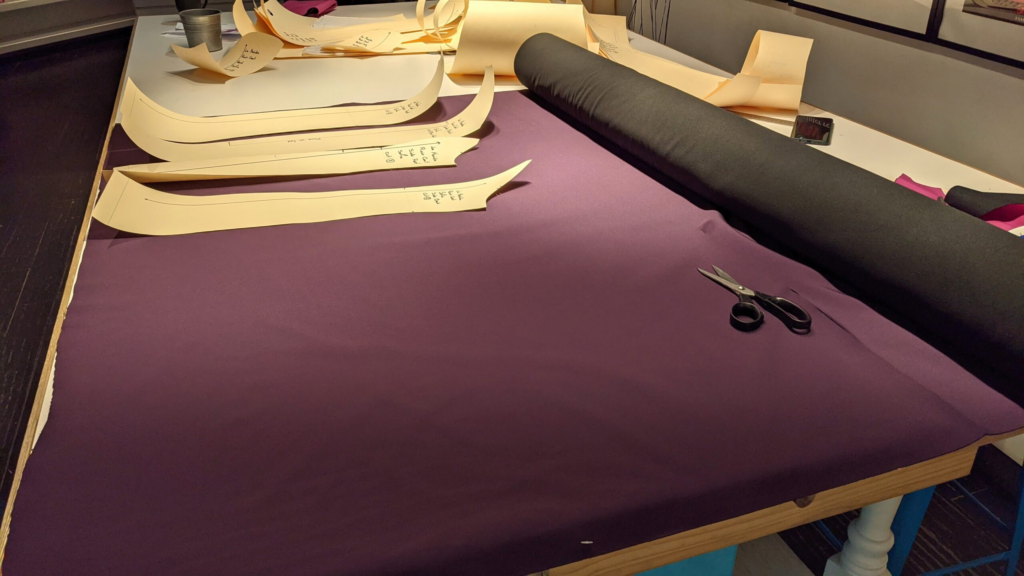
Cutting out Raincoat Fabric
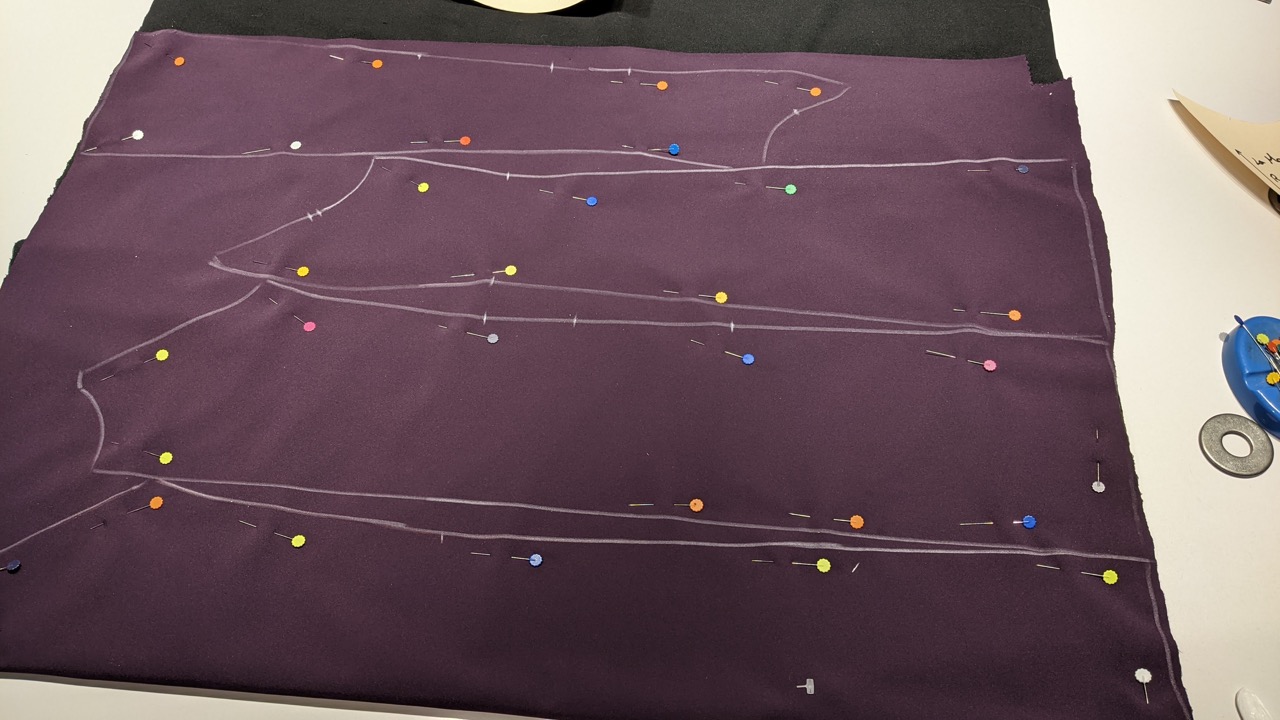
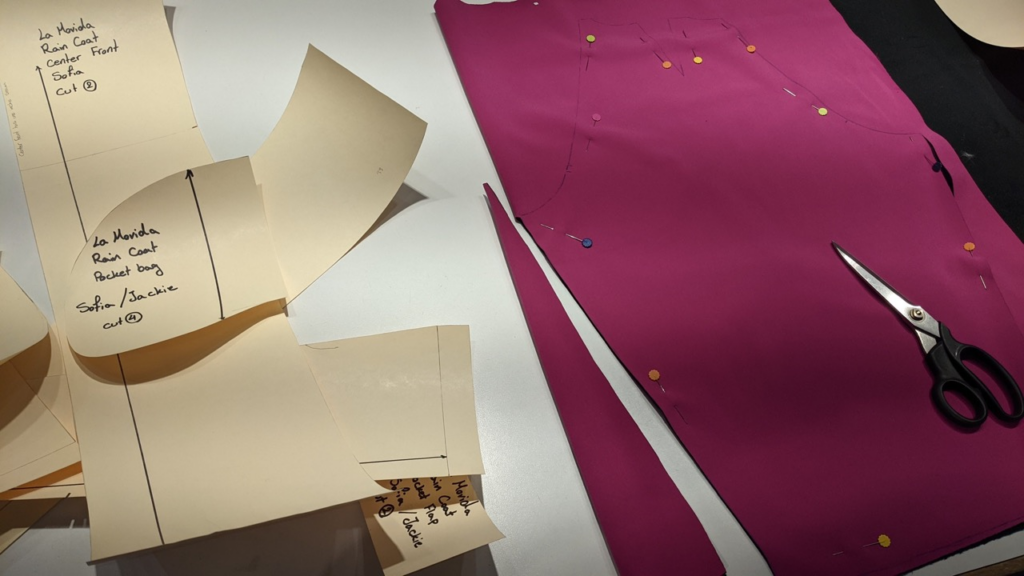
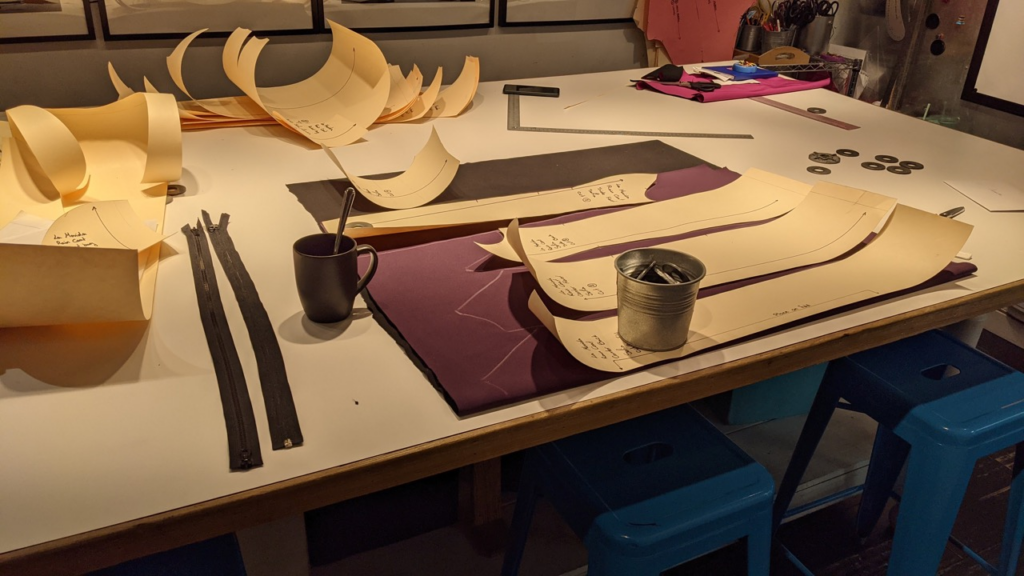
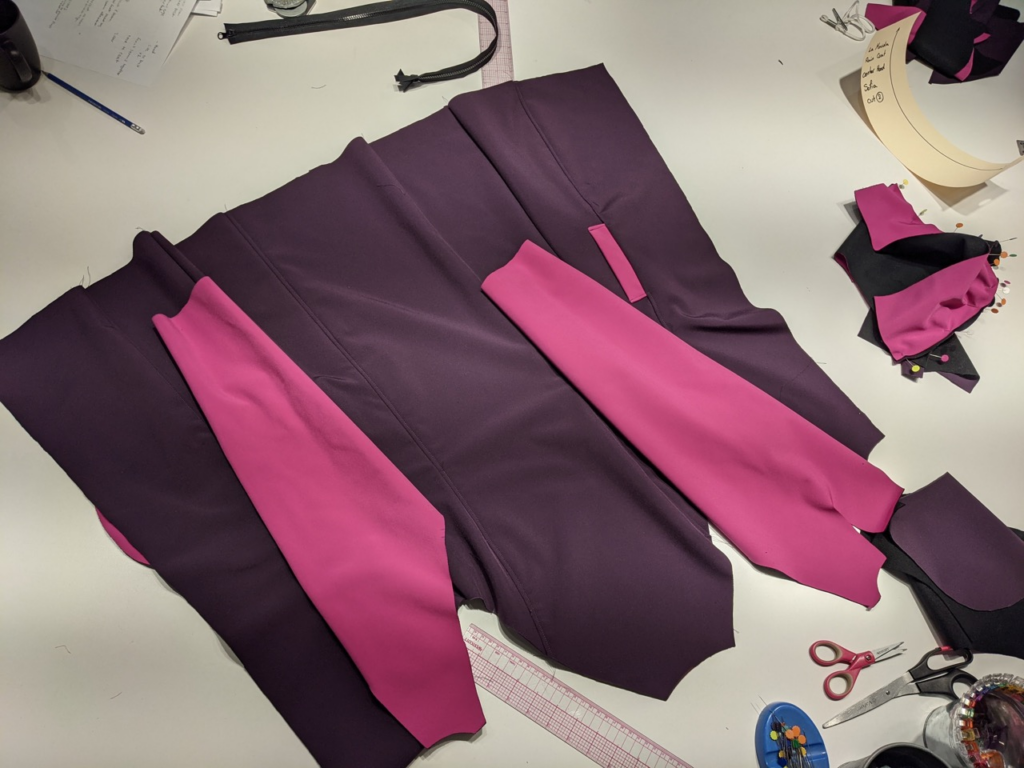
Raincoats (and coats in general for that matter) have a lot of pattern pieces to cut out. Our coat pattern has a total of 9 pattern pieces (and all of them needed two pieces cut at least). When having so many parts that need to be pieced together, it’s very important that you take the time to accurately cut things as this can result in lots of things not fitting together correctly later. When raincoats are manufactured they use computerized laser cutters to cut out the pattern pieces.
Here are a few tips to think about as you are cutting out your coat.
Make sure your initial measurements are accurate.
In our class we demonstrate and instruct on how to properly measure yourself. This is a bit difficult for younger kids especially to navigate as they are developing fine motor skills.
Near the end of the project we ended up with some frankenstein sleeves due to missed length adjustments to the pattern. So take this as a lesson from us, double check your sleeve length on your pattern before putting scissors to the fabric.
Most patterns will mark various sleeve lengths but if you are unsure you can always take a measuring tape to the pattern.
- Pilot Frixion Erasable Markers$3.50Select options
- Westcott Beveled Ruler | 18 Inch | 46cm$9.00Add to cart
- Dritz Tape Measure$2.50Select options
- Clover Triangle Tailor’s Chalk | White$5.00Add to cart
Play around with pattern layout. With all these pieces and your nice water repellent fabric, you want optimal usage of all the surface areas. Make sure you’re still following the grainline and other markings.
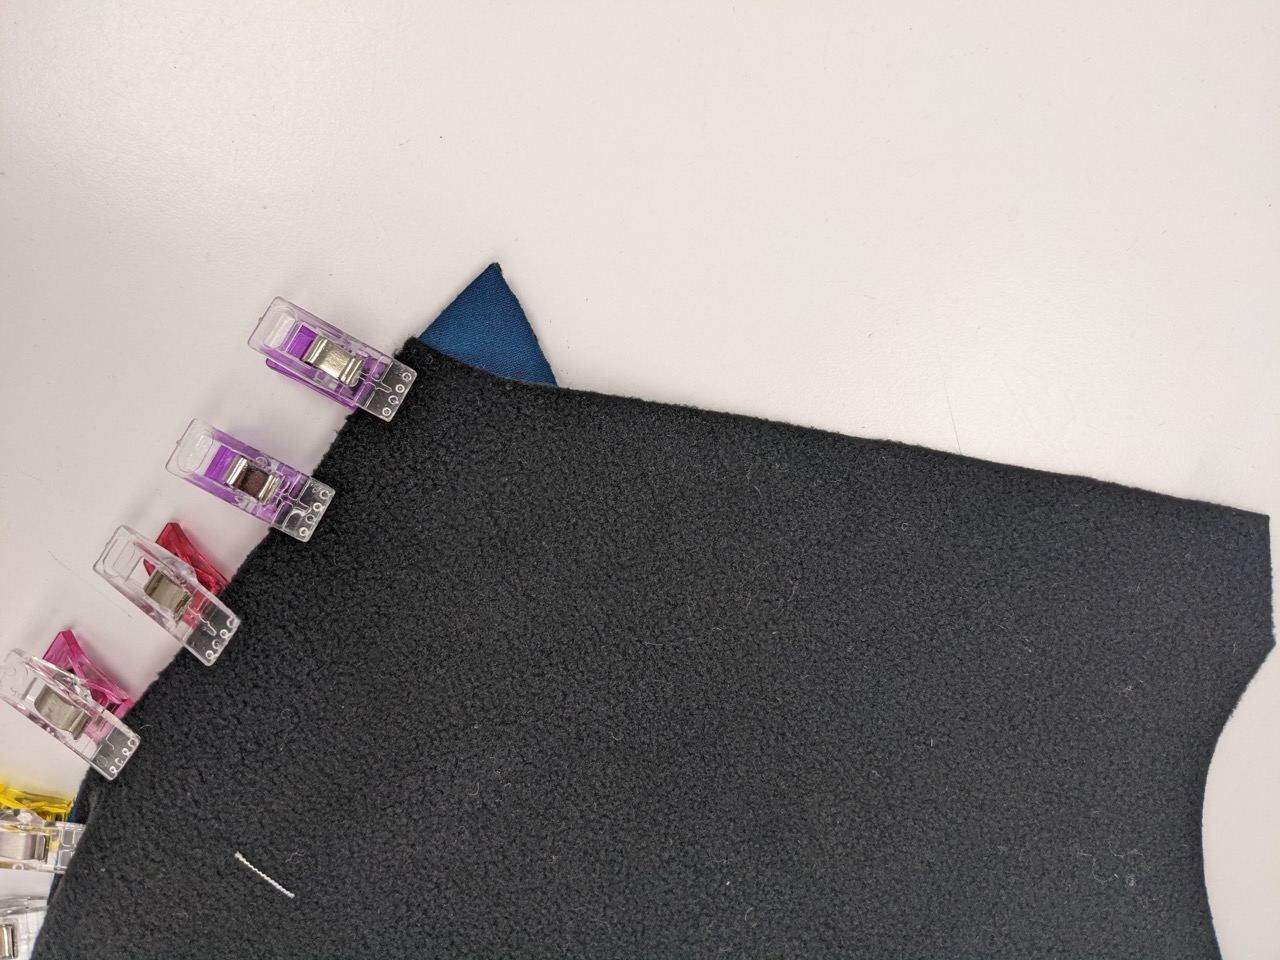
Depending on your fabric you may or may not be able to use pins to hold multiple layers together. For in pin marks in the soft shell will heal, but it can be quite thick to pin and cut into. (We lost a lot of pins during this project.)
In this case it’s best for your hands to use sharp scissors and have nice pointy pins.
If you’re a new sewist and you haven’t heard this yet: invest in good fabric scissors and make sure no one uses them on anything but fabric, it dulls the blade.
You can always go get your scissors sharpened and sharp scissors prevent repetitive strain injuries.
Tips for Sewing your Raincoat
Since softshell fabric is so thick there are a lot of tricks you can utilize to make your home sewing experience easier.
- Pinning into multiple layers can prove a bit difficult. We lost a lot of pins last winter term. In this case quilters clips are helpful on the straighter bits. Ultimately we did a combo of both. Pins on the curvy bits so we didn’t have to remove them when sewing.
- Sewing Clips | Assorted Colour | 10pc$5.00Add to cart
- Flower Head Pins$5.00Add to cart
- Sew Mate Magnetic Pin Cushion | Pin Deck$9.00Select options

- When topstitching a good trick is to use masking / painters tape to hold things in place. You can stitch right over it and remove after.
- It’s good to use a new heavier needle through many layers of the soft shell fabric. The sharper point in conjunction with the thicker needle will ensure you minimize the amount of sewing machine needles you go through.
- Schmetz Universal Needles 5 Count$7.25Add to cart
- Schmetz Universal Needles 10 Count$14.50Add to cart
- It’s best to take it slow because the feed dogs can have a hard time gripping on to it the faster you sew.
- If you are still finding that your fabric is having a hard time traveling through the machine without force you can always try lengthening stitches little by little. When you’re working with thicker and fuzzy fabrics sometimes your feed dogs have a hard time gripping the material to move it. You can also try lowering the presser foot tension on your machine.
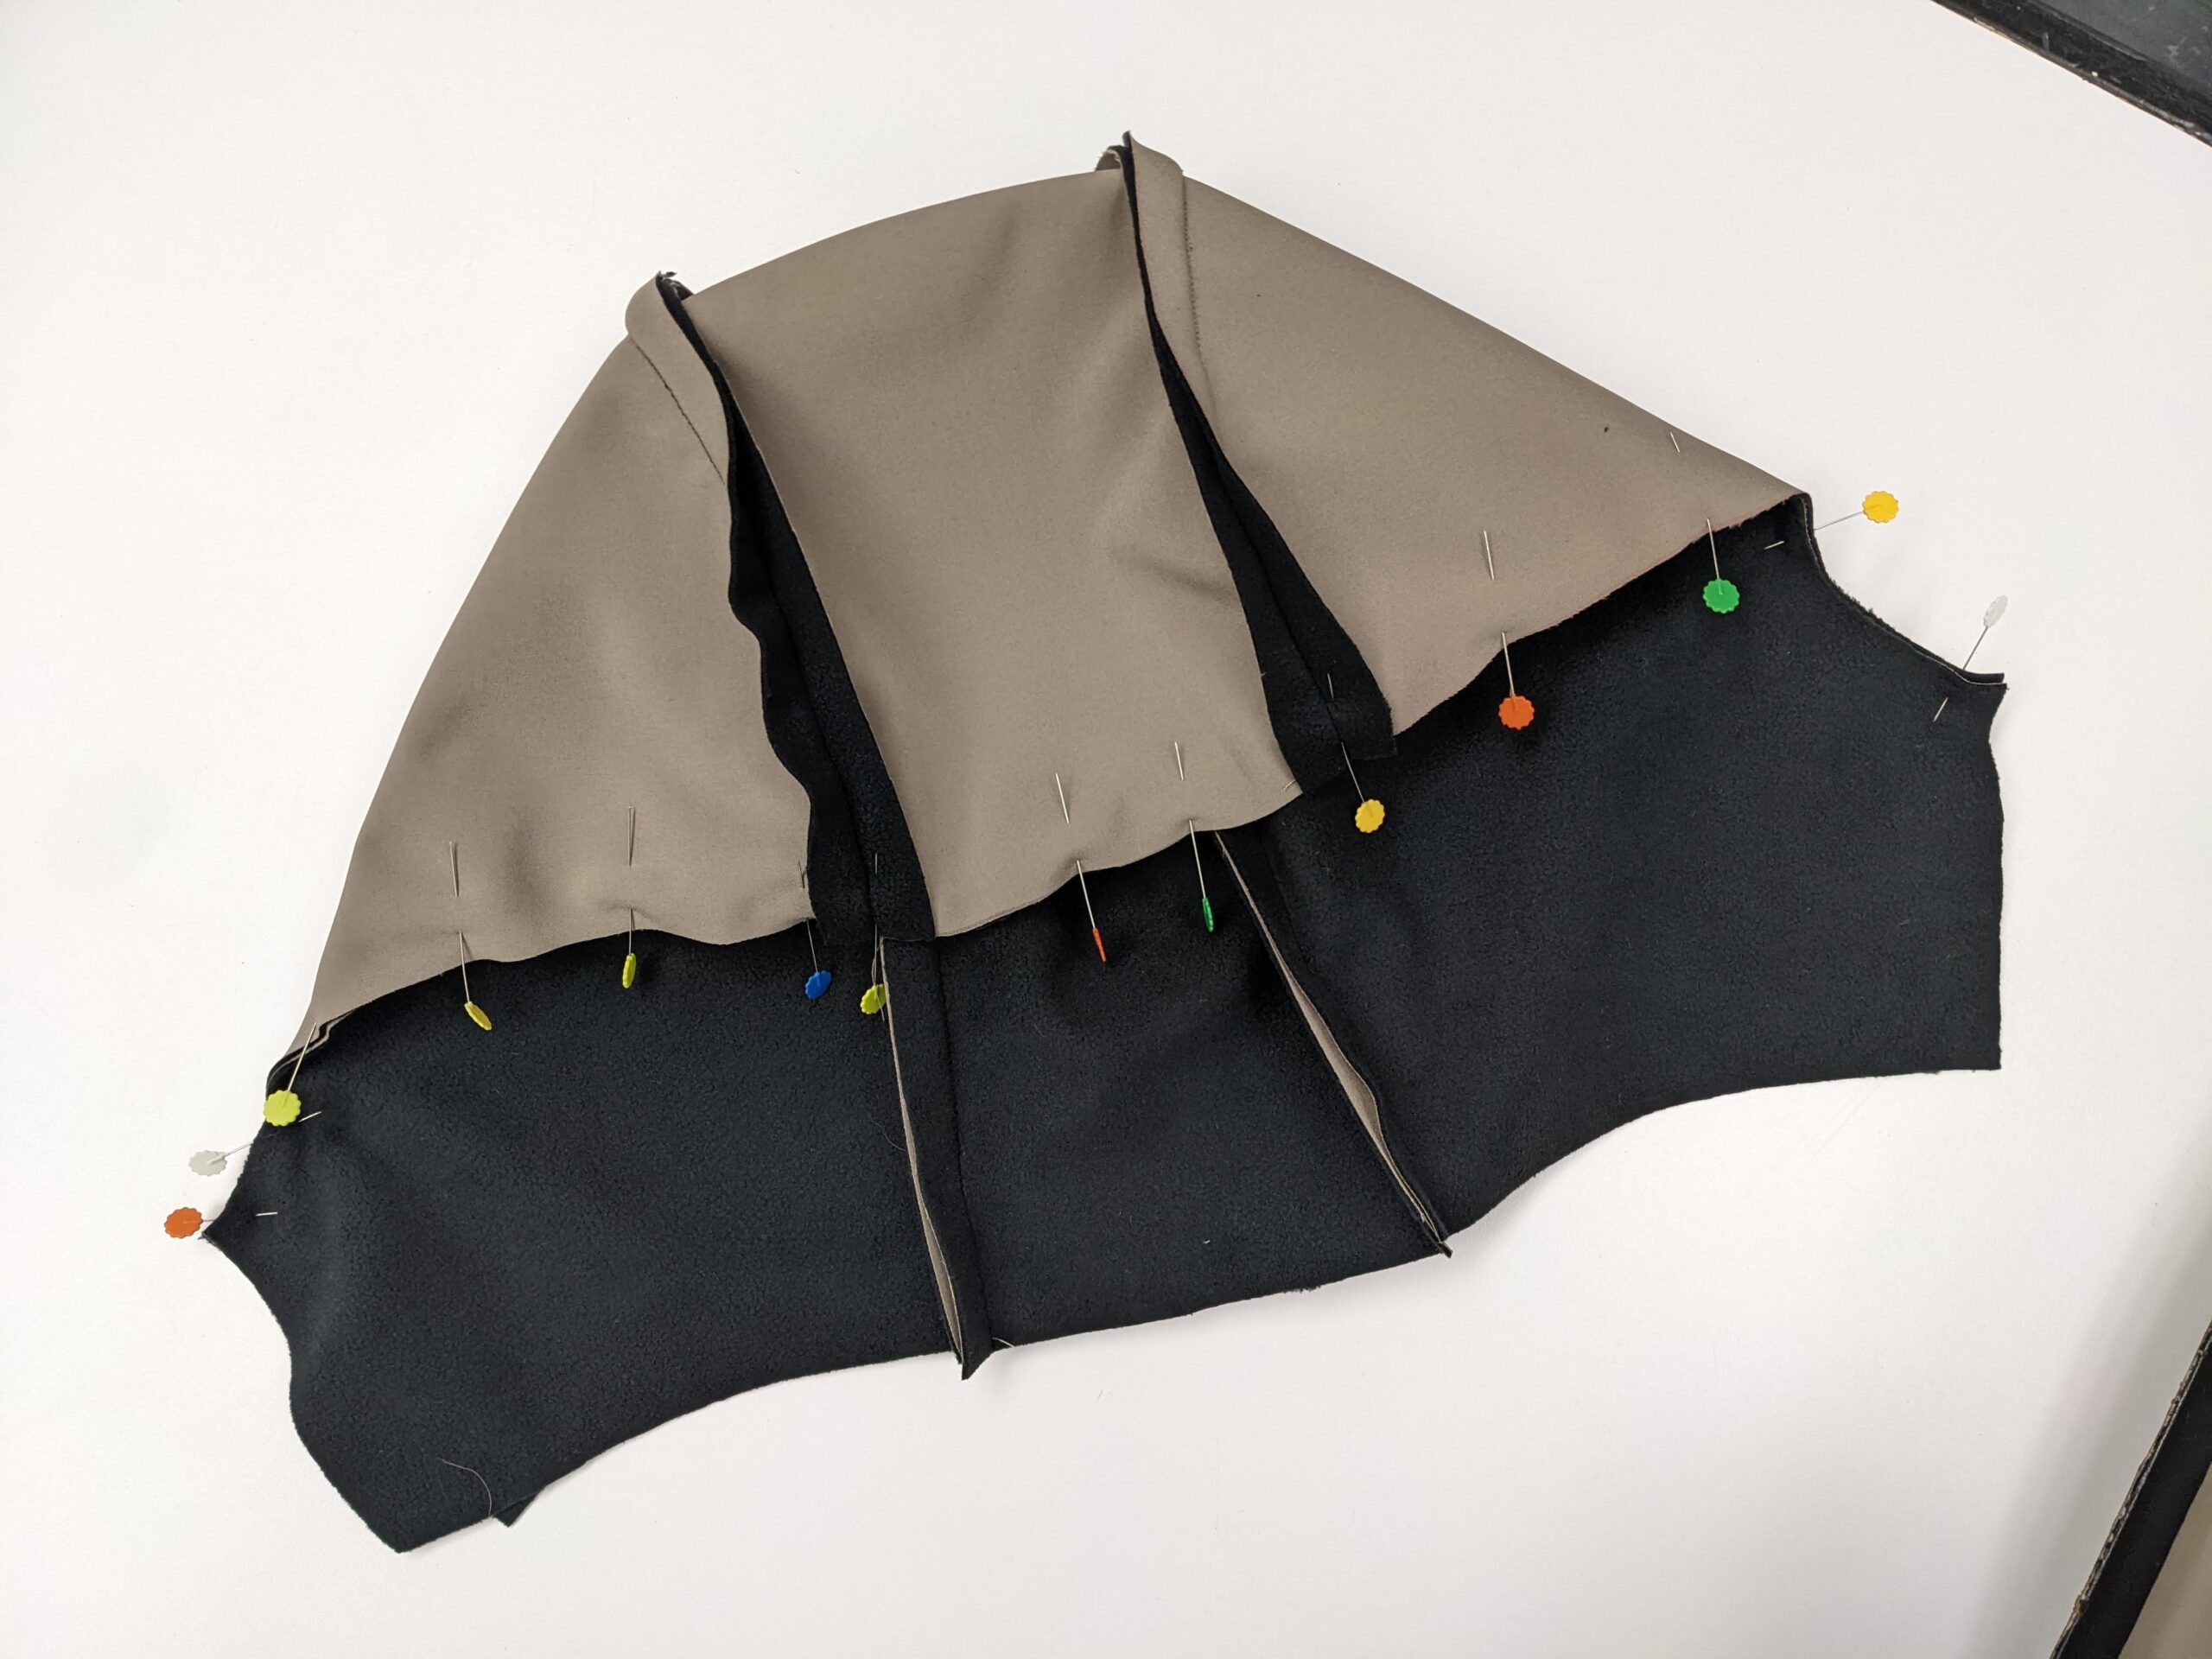
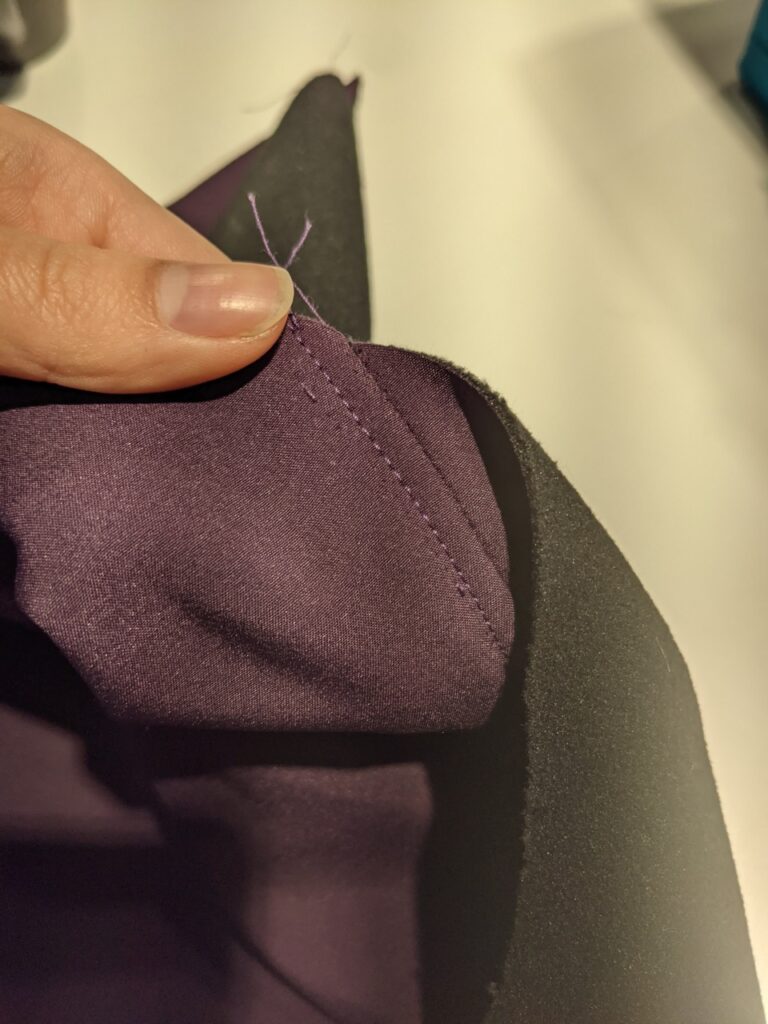
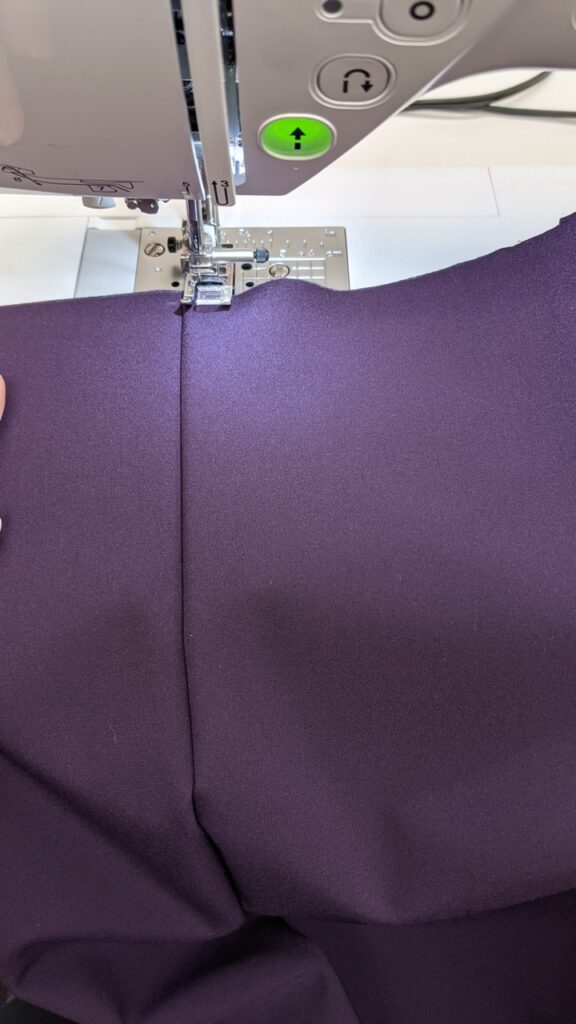
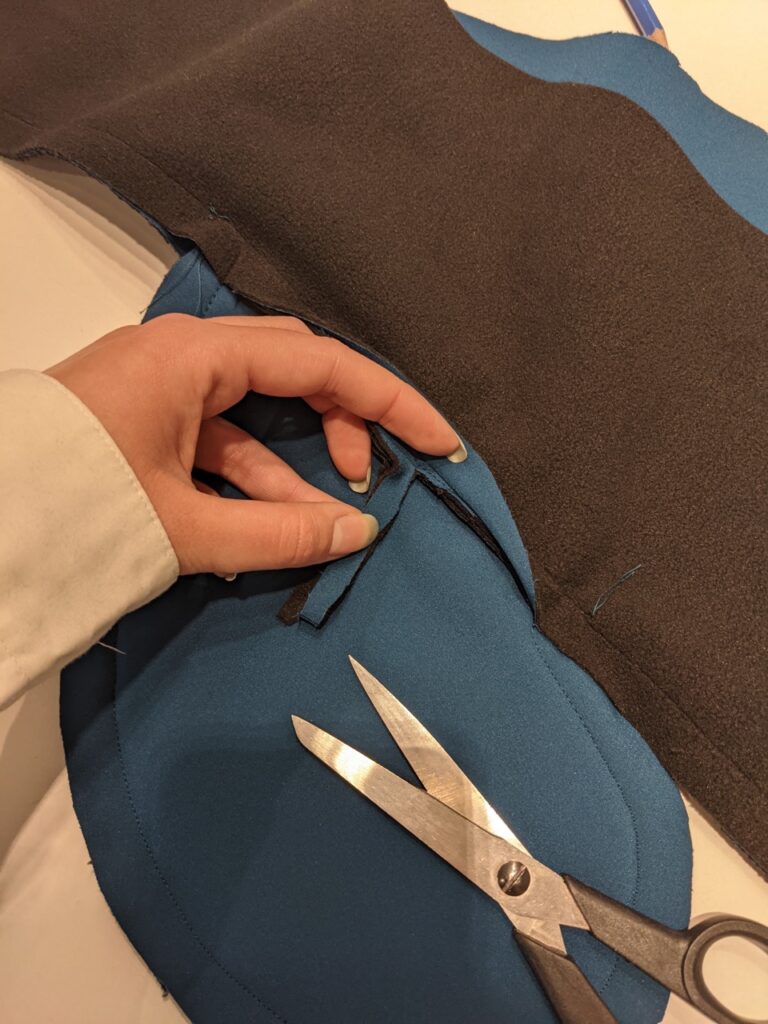
- In our raincoat pattern we have curves in our princess seams, sleeves, and hood so we had to show students how to trim down seam allowance and clip the curves properly. This cuts down on the bulkiness in the seams as well as to help the curves lay flatter.
- As noted before, coats have a ton of seams that need to fit together like a puzzle, so if things are askew early on, you will have many more issues along the road. So when stitching your coat together double check your seam allowance periodically to ensure it’s accurate.
Making your own raincoat is a worthwhile project that our after-school youth sewing students can vouch for. They are very proud of their raincoats and they get a lot of use out of them here in British Columbia. However, It’s a long project that requires attention to detail so make sure you’re prepared to ride it out. We hope these tips will help you feel prepared and confident to pursue your raincoat sewing dreams.
As always if you find any trouble along the way we are happy to help you with your sewing projects. You can find us in person or online to ask any questions or get assistance.